
Browse the guide
Embedded Terminal
Put your full virtual terminal inside another software product - your team charges cards and checks without ever leaving the program they already work in.
The embedded terminal puts your Merchant360 virtual terminal inside another software product, such as a practice manager or booking system. Your staff charge cards and checks (ACH) from the program they already use, and every charge settles to your own merchant account. It runs on an embed key you create, limit to certain websites and can revoke at any time.
Businesses that work all day in another program, and the software vendor or web developer who adds the terminal to it.
- You are the account owner. Only the owner can create or revoke embed keys, API keys and webhooks.
- The website address (domain) of the software that will show the terminal, from your vendor.
- For API keys: your mobile number is verified under Login/Account Security. Creating a key asks for a texted code.
On this page
Set it up
What it is, the embed key, and testing before you go live.
What the embedded terminal is
The embedded terminal is your complete Merchant360 virtual terminal placed inside another website or software. A software vendor, or your own web developer, adds a short snippet to their page, and your staff take card and Check (ACH) payments there without opening Merchant360. Dual pricing, saved cards from your vault and email receipts work the same way, and every charge settles to your own merchant account.
It runs on an embed key you create under Accept Payments → Billing settings, in the Embedded Virtual Terminal card. A live key only works inside the website domains you list on it.
The terminal shows on its own by default, with a small Payments powered by Merchant360 mark under the payment button. When the vendor adds &header=1 to the embed address, your business name shows above the terminal.
If you have Merchant360 Terminals, the embed offers a device mode: your staff pick a reader, or use the one they are locked to, and the customer taps or inserts the card on the terminal.
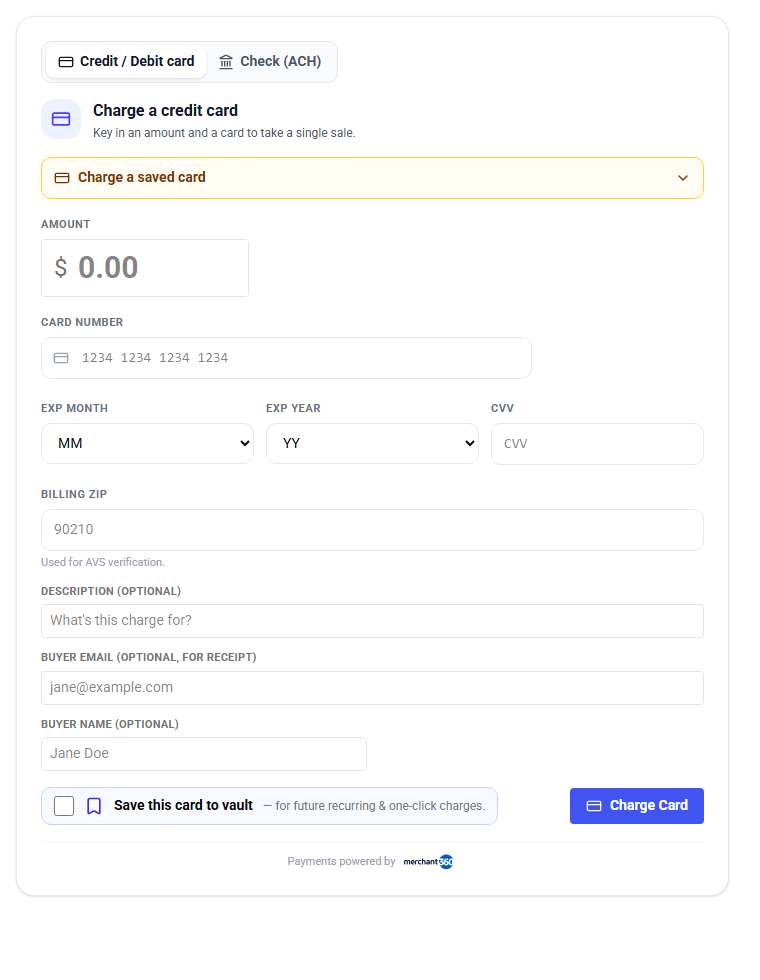
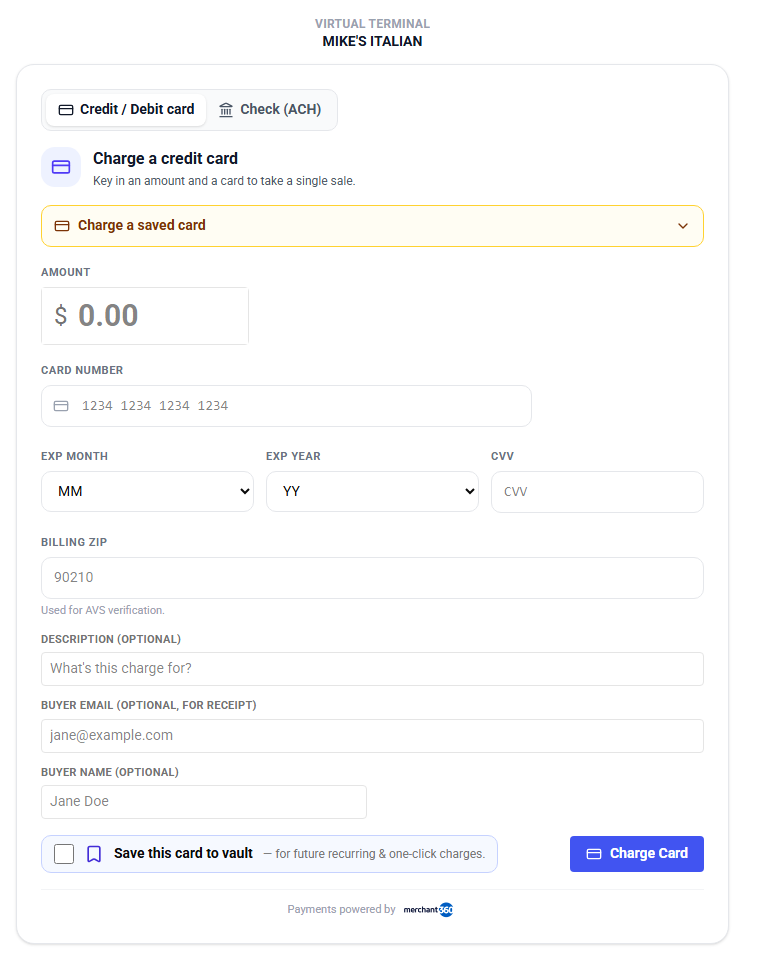
| On this screen | What it does |
|---|---|
| Embedded Virtual Terminal card (Billing settings) | Where embed keys are created, listed and revoked. |
| Snippet | The code the vendor pastes into their page. It loads your virtual terminal tied to your key. |
| &header=1 | Optional addition to the embed address that shows your business name above the terminal. |
| Device mode | Offered when your account has Merchant360 Terminals. The charge goes to a card reader instead of a keyed card. |
Creating an embed key
An embed key is what ties the vendor's page to your account. Only the account owner can create one. Each key lists the website domains it may be used from, and the key value is shown once when it is created, so have the vendor ready to receive it.
- 1Open Accept Payments → Billing settings and press Developer & testing under On this page. Find the Embedded Virtual Terminal card.
- 2Under Allowed website domains (comma-separated), type each domain the terminal may run on, for example app.yoursoftware.com, *.yoursoftware.com. A *. entry covers every subdomain.
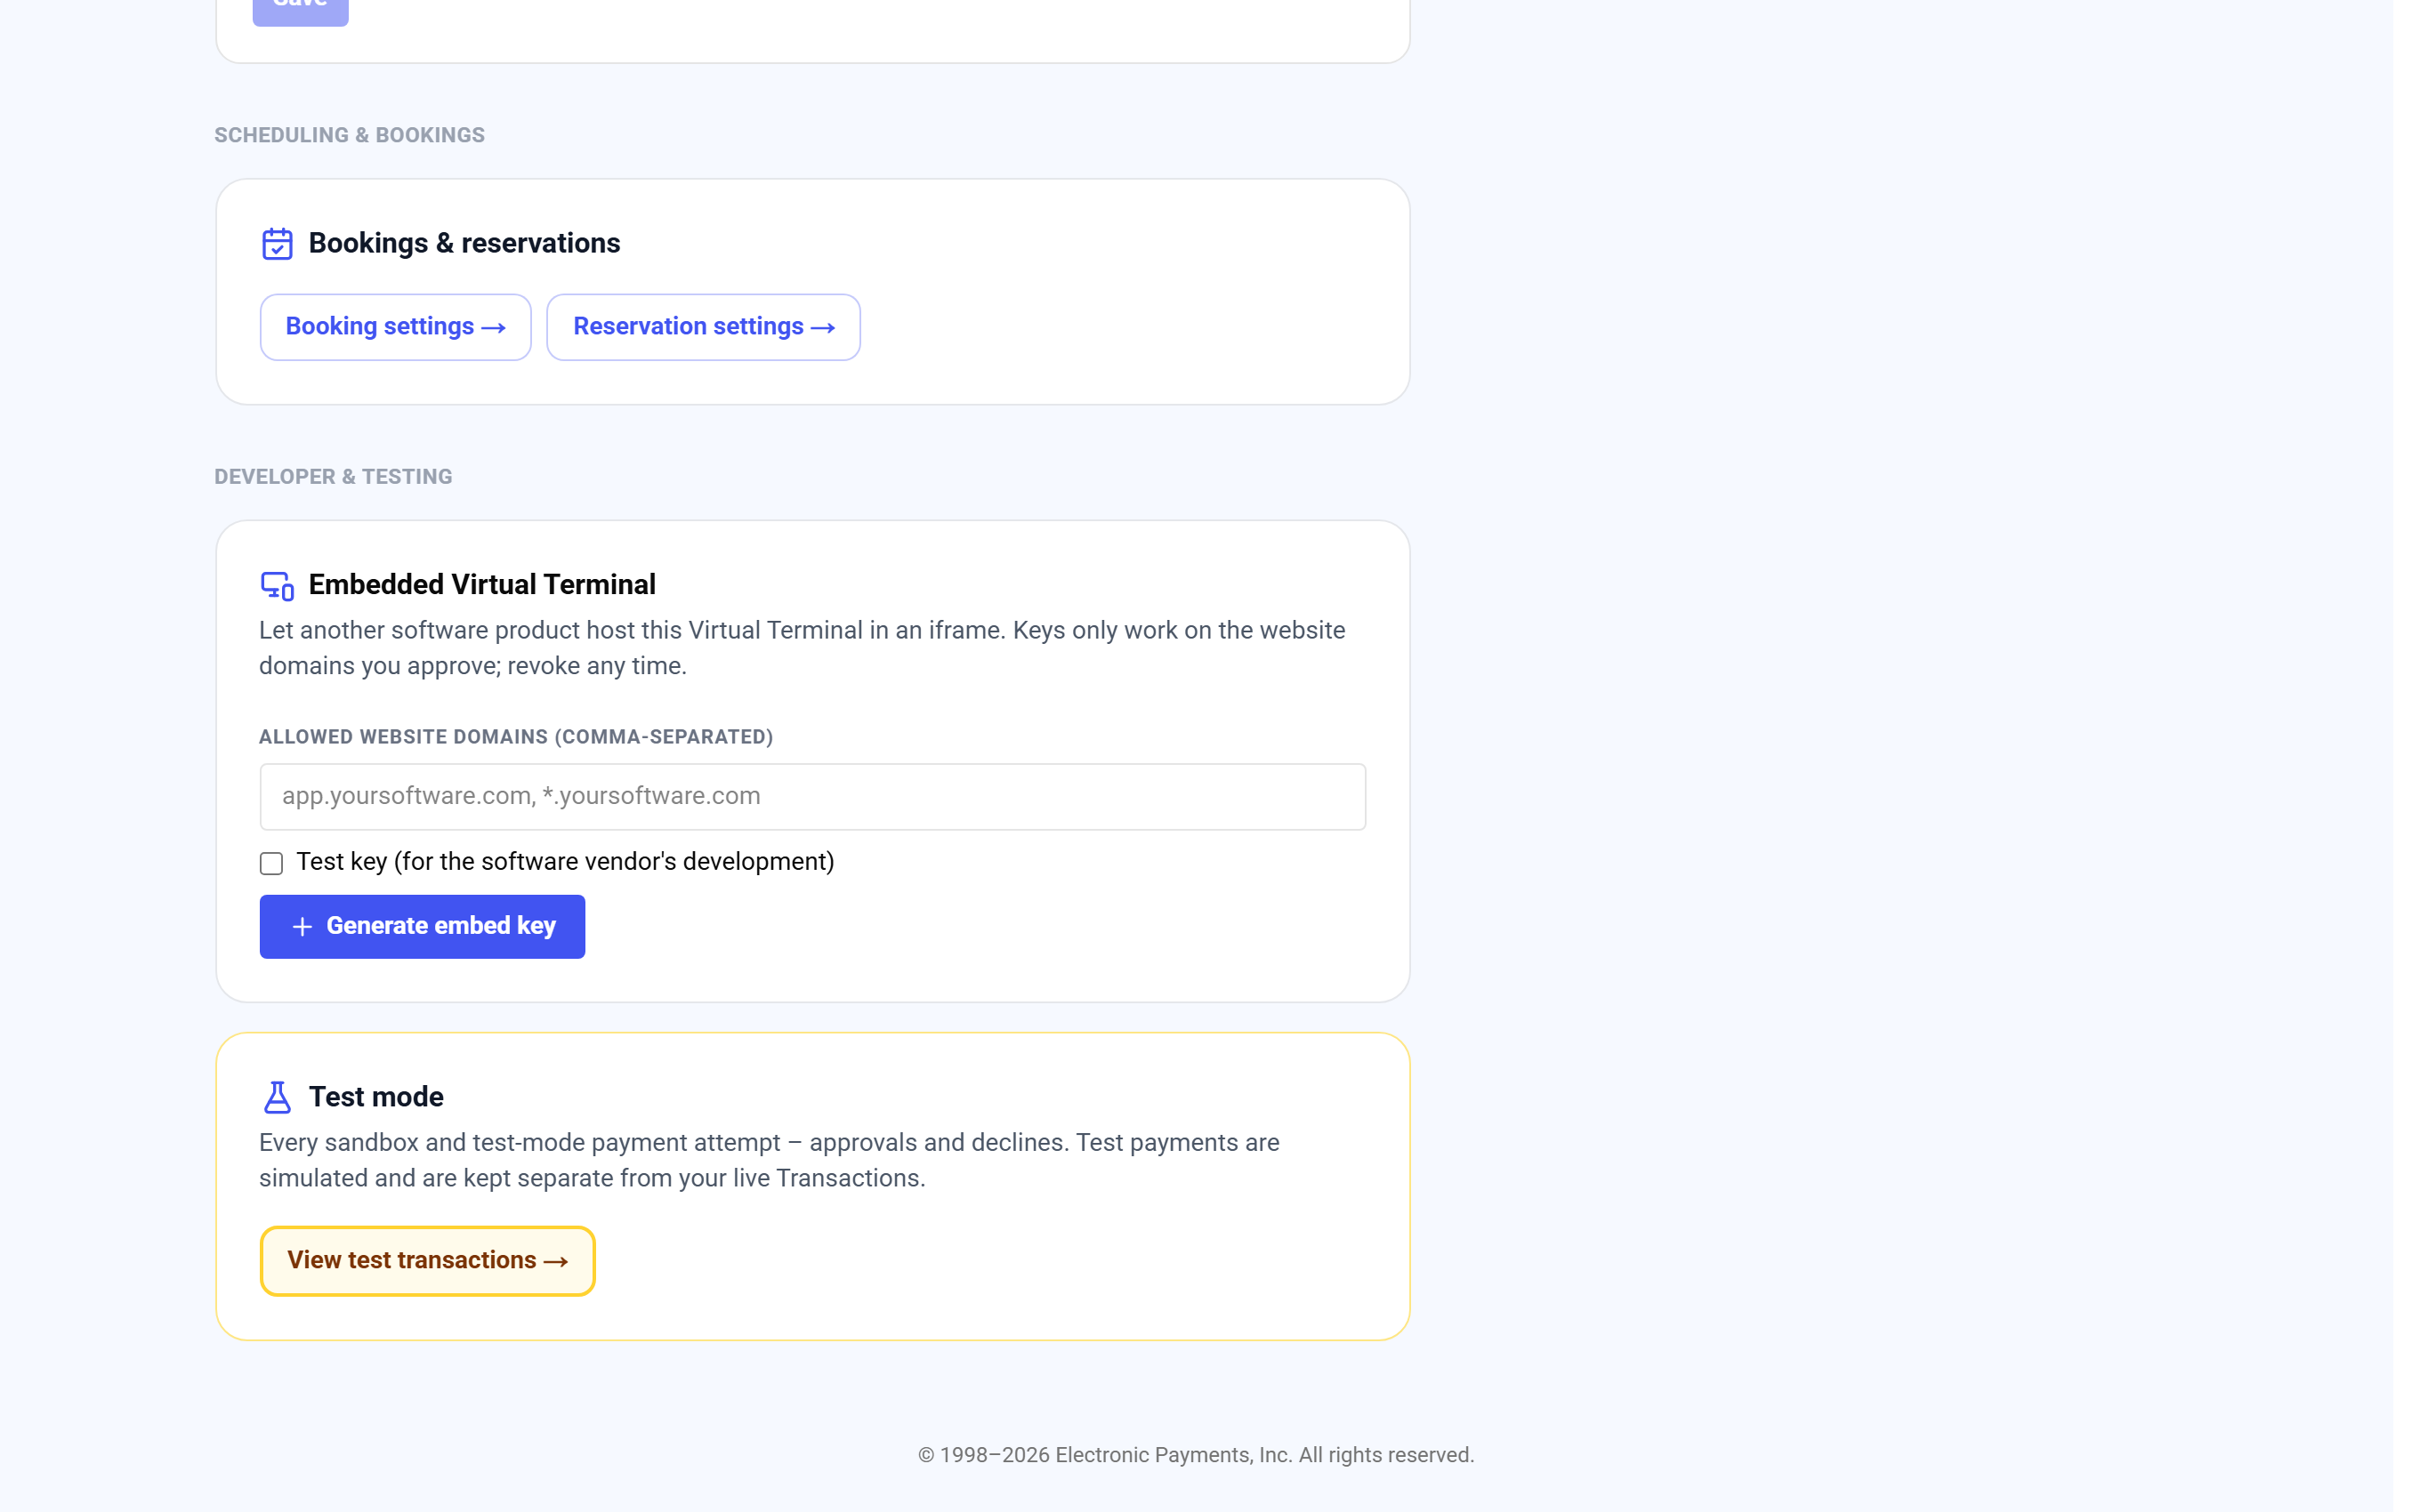
Embedded Virtual Terminal: domains, Test key, then Generate embed key. - 3Tick Test key (for the software vendor's development) while the vendor is still building. Leave it clear for a live key.
- 4Press Generate embed key. The key shows once, with Copy this key now - it is shown only once.
- 5Under Paste this into the hosting software's page:, press Copy snippet and send the snippet to your vendor.
- 6When a key is no longer needed, press Revoke on its row in the list. It shows Revoked and stops working right away.
You are done when the key appears in the list on the Embedded Virtual terminal card and the vendor's page loads the terminal without a domain error.
Revoke a key when the vendor relationship ends or the key may have leaked. Revoking is immediate and the vendor's page stops loading the terminal. Create a new key to replace it.
If the snippet was lost, it cannot be shown again. Revoke the key and create a new one. If the vendor uses a staging site as well as a live site, list both domains on one key, or create one key per site.
| On this screen | What it does |
|---|---|
| Allowed website domains (comma-separated) | The domains the key may be used from. A star before the dot, such as *.example.com, allows every subdomain. |
| Test key | Creates a key that runs simulated payments. They show on the Test mode page, not in live Transactions. |
| Generate embed key | Owner only. Creates the key and shows the snippet once. |
| Copy snippet | Copies the embed code to the clipboard for the vendor. |
| Key list: Revoke / Revoked | Revoke disables the key immediately. Revoked keys stay listed with their status. |
- At least one valid embedding domain is required (e.g. app.yoursoftware.com).
- Type at least one website domain, without https:// or a path.
- Maximum 20 domains per key.
- Split the domains across two keys.
- Only the account owner can manage embed keys.
- Sign in as the account owner.
- The terminal reads Domain not approved
- The page hosting it is not on the key's list. Keys cannot be edited, so generate a key with that domain and send the new snippet.
- The terminal reads Invalid embed key
- The key was revoked or mistyped. Generate a new one and send the new snippet.
- The terminal reads Embedding required
- A live key only works inside an approved website. Use a test key to try the address directly.
Do this with the API:Embedded Terminal
Test keys
A test key lets the vendor build and rehearse without charging a real card. Test keys start with vtk_test_ so they are easy to tell apart. Payments made through a test key are simulated: no money moves and nothing appears in your live Transactions.
- 1Generate a key with Test key (for the software vendor's development) ticked. Test keys start with vtk_test_ and show TEST in the key list.
- 2The vendor builds and tries payments with it. No money moves.
- 3To see the attempts, open the Test mode tab in Billing settings, or press View test transactions on the Test mode card.
- 4When the vendor is ready, generate a live key with the same domains, have them swap it in, and revoke the test key.
Simulated payments show on the Test mode page under Billing tools, Settings, with When, Source, Card, Amount, Outcome, and AVS columns, so the vendor can confirm the result of each attempt.
When the vendor is ready to go live, create a live key with the same domains and have them swap it in. Revoke the test key once it is no longer needed.
If a payment made through the vendor's page does not appear in Transactions, check whether the page is still using a test key; the payment will be on the Test mode page instead.
| On this screen | What it does |
|---|---|
| Test key checkbox | Ticked when creating a key produces a vtk_test_ key that simulates payments. |
| Test mode (View test transactions) | The list of simulated payments from test keys and test API keys, with their outcomes. |
- A payment from the vendor's page is not in Transactions
- The page is still on a test key. Test payments are kept separate from your live Transactions, on the Test mode page.
Do this with the API:Test mode
After it is live
Where the payments land, and how the vendor's software gets them back.
Where the payments show up
Charges taken through the embedded terminal are your normal payments. They appear in Transactions, settle in your batches, and follow your dual pricing and Fraud tools rules like any other virtual terminal charge. Receipts send from your business the same way.
- 1Open Accept Payments → Transactions.
- 2Set From and To, and type the last 4 of the card or the name under Look up a sale. Press Search.
- 3Refund or void the charge from its row, the same as any other sale.
Refund or void an embedded charge from Transactions, the same as any other sale.
| On this screen | What it does |
|---|---|
| Transactions list | Every live payment, including embedded ones, with filters and CSV or PDF export. |
| Transaction detail: source | Shows that the payment came from the embedded terminal and the reference the vendor passed. |
| Refund / Void | The same controls as any keyed sale. |
- A charge is missing
- Check the Test mode page in case the vendor's page uses a test key, and the review queue in Fraud tools in case the charge was held.
Do this with the API:Transactions feed
For the software vendor: pulling payments back
The vendor's software can learn about each payment two ways, both set up by the account owner on Developers & API: a webhook that pushes each payment event as it happens, or an API key the software uses to pull transactions on its own schedule.
- 1Open Accept Payments → Developers & API.
- 2Webhooks: press Add endpoint. Type the vendor's Endpoint URL (https), pick Events or leave All events (recommended), and press Create. Under Signing secret – shown once, copy the secret and send it to the vendor.
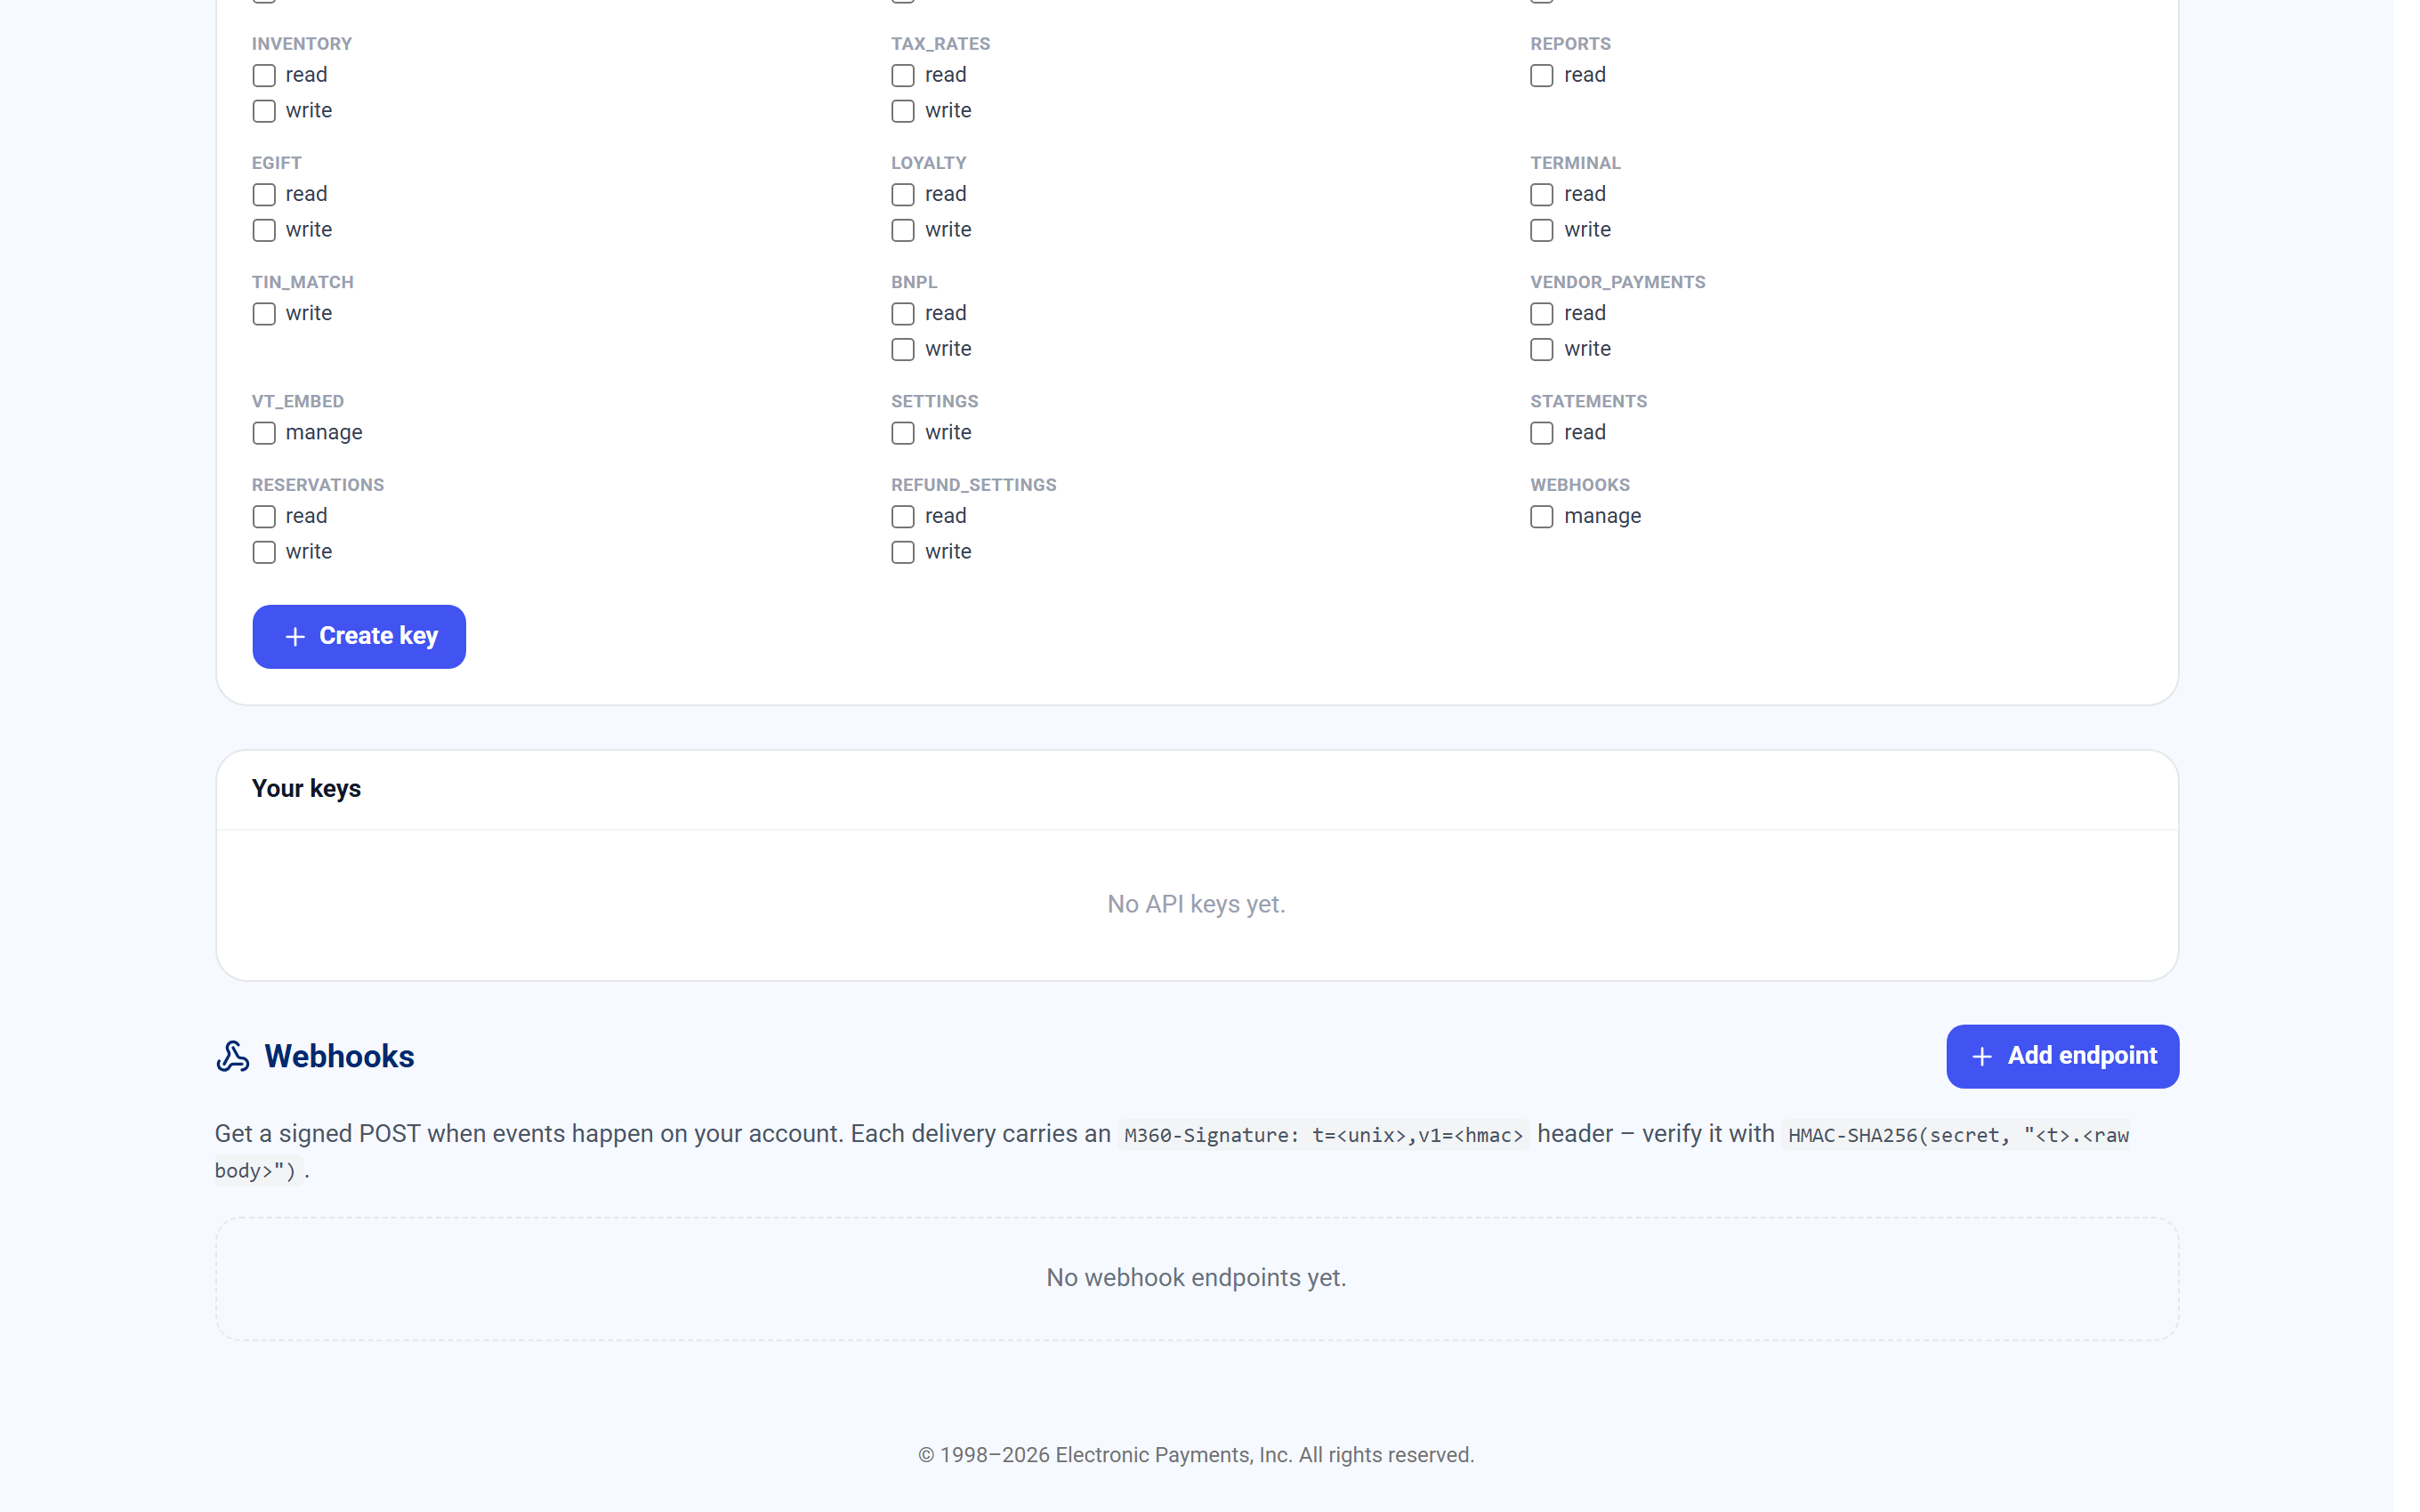
Webhooks: Add endpoint. - 3API key: under Create an API key, type a Name, choose Test or Live under Mode, press Read-only under Scopes, and press Create key. Confirm with your texted code. Copy the key from Key created – copy it now and send it to the vendor.
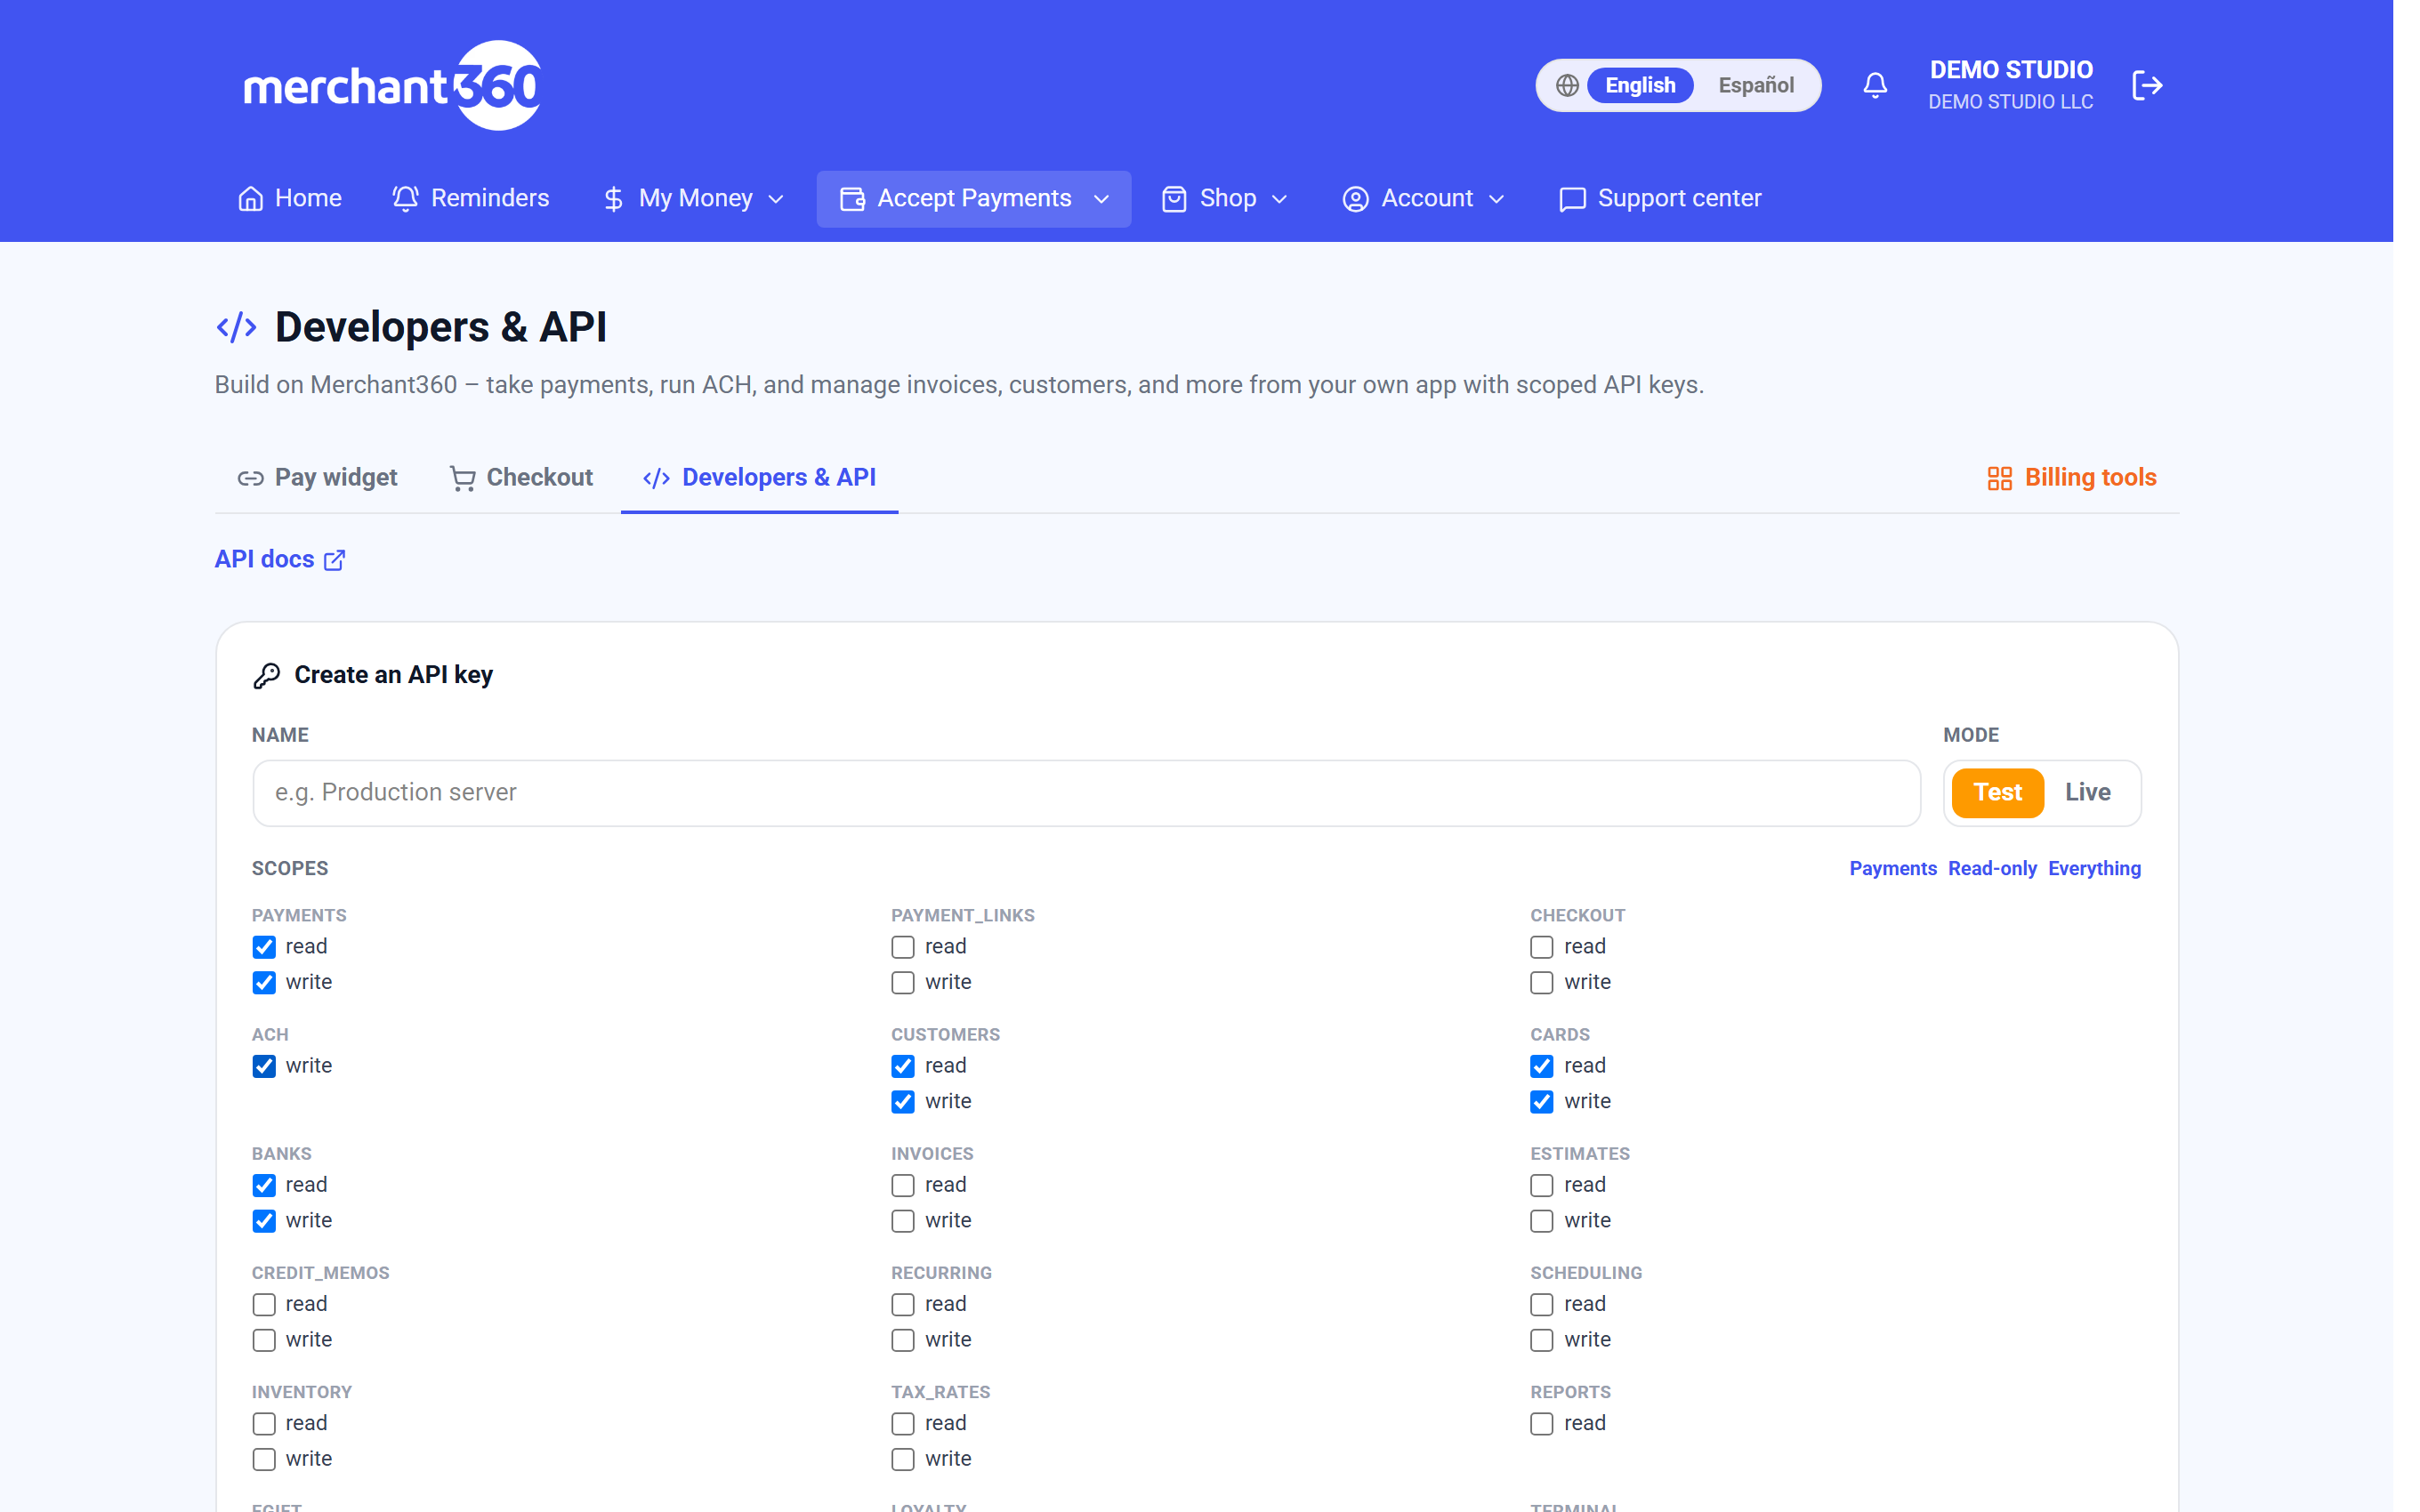
Create an API key: Name, Mode and Scopes. - 4To check deliveries, open Recent deliveries under the endpoint. Retry resends a failed one. Send test event sends a sample; Rotate secret issues a new signing secret.
- 5Revoke an API key from Your keys, or Delete a webhook endpoint, when the vendor no longer needs it.
Embedded charges carry the origin EMBED_VT, so the vendor can tell them apart from sales taken anywhere else on your account.
| On this screen | What it does |
|---|---|
| Webhooks: Add endpoint | Owner only. Endpoint URL (https) and Events, or All events (recommended). The Signing secret is shown once. |
| Webhooks: Send test event | Sends a sample event to the endpoint so the vendor can check their handler. |
| Webhooks: Rotate secret | Issues a new signing secret. The old one stops working. |
| Webhooks: Recent deliveries (When, Event, Status, Code, Attempts) | The delivery log per endpoint. Retry resends a failed delivery; Refresh reloads the list. |
| Webhooks: Delete | Removes the endpoint. No further events are sent. |
| API keys: Create an API key | Owner only. Name, Mode (Test or Live), and Scopes, with Payments, Read-only, and Everything presets. Asks for a texted code and shows the key once. |
| API keys: Your keys / Revoke | Lists keys with last used. Revoke disables one; Revoke N selected disables several. |
- Enter an https URL.
- The endpoint must start with https://.
- Grant at least one scope.
- Tick a scope, or press a preset such as Read-only.
- Only the account owner can manage API keys.
- Sign in as the account owner.
- Deliveries show FAILED
- The Code column shows what the vendor's server answered. Fix the endpoint, then press Retry.
Do this with the API:Webhooks
Developers can do the same with the Merchant360 API.